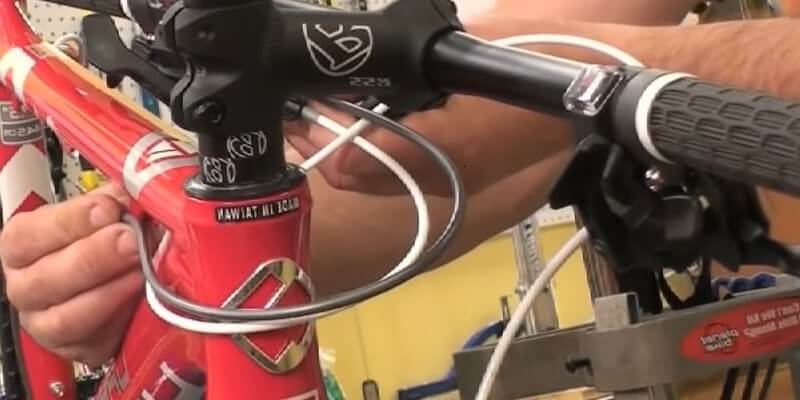
People love cycling and they do it because of that there are so many bike-related problems we found. Now here in this article, we’re going to replace a brake cable. In this article, we have discussed the matter details and hopes this helps you a lot.
First Step
Tools you’ll need for replacing a brake cable will be a five-millimeter hex key a cable cutter and a hand file.
The first thing you’ll do when you’re replacing your cable is snipped the crimped end off of the brake cable itself.
You’ll sometimes find it’s easier to get the cable out of the brake and the bike if you also snip it in the middle of the line whether it’s near the brake caliper or up here at the top tube.
This is just so you don’t have to pull the crimped portion of the cable through all that housing it can get snagged.
Loosen up the anchor bolt and pull away from your cut remnant of cable up at the handlebar turn the barrel adjuster and its lock nut.
So that these two slots line up with the matching slot on the front of the brake lever and then the cable will just slip right out.
On a road bike you won’t have that feature you’ll have to actually thread the cable all the way through the brake lever. So, this is very important to tighten bike brake carefully.
Remove the cable in the front section of housing being sure to save any special fare rules that might be required for your frame.
Second Step
If your housing is held on by zip ties, you’ll need to clip those pull those out, and discard them remove the rear section of the housing and again save the special feral.
If you’ve done any adjusting with the barrel up front you don’t necessarily want to wind it all the way back into the brake lever so that it’s tight but have it wound out just a turn or two so you have some adjustment in both directions if you need to use it after your installation.
There are two types of housing on your bike one for brake and one for derailleur. The difference between the two is the construction of the steel inside the plastic coating.
Derailleur wire has linear strands that resist compression and allow the housing to maintain its length so that precision adjustments like a derailleur adjustment will stay constant.
Brake housing is spirally wound which gives it a great deal more compression strength but as the housing flexes the length of the housing will change slightly so it’s not ideal for precise adjustments but that little bit of elongation in the housing isn’t going to be something that you notice when you’re squeezing a brake lever.
If you were to try and use derailleur housing for braking purposes the amount of compression on the housing could actually cause these linear strands to want to burst out of the plastic coating.
You’ll take a length of it you’ll line it upset it in the lever barrel adjuster determine where you’re going to cut it where it goes into the frame mount and swing the handlebar about 90 degrees or a little more and set the housing.
Third Step
If you compress a burr into the housing, you’ll just want to clean that up with your cable snips. Cut it so that spiral-wound steel inside the housing stays in a circle around the inner core.
Your rear length of housing you still want a nice smooth curve that just makes it a lot easier for the cable to run through smoothly mark with your thumb where you’re going to snip it off and use your cable cutters.
Your housings cut off using a hand file and take the end of the housing down as smooth as you can. You want a nice square end so it doesn’t tend to want to compress and pinch in on the wire.
Put Farrell’s on the end of the housing if your frame uses special Ferrell’s replace those put your housing sections back into place.
Use your cable snip you don’t want this tail end of the wire to be more than about three-quarters of an inch long.
Conclusion
There are some tricky tasks you have to need to do when you replace a bike cable. Here we have gathered some amazing steps to replace your bike cable. If you want to learn more biking tips check OutdoorXsports for more information.


