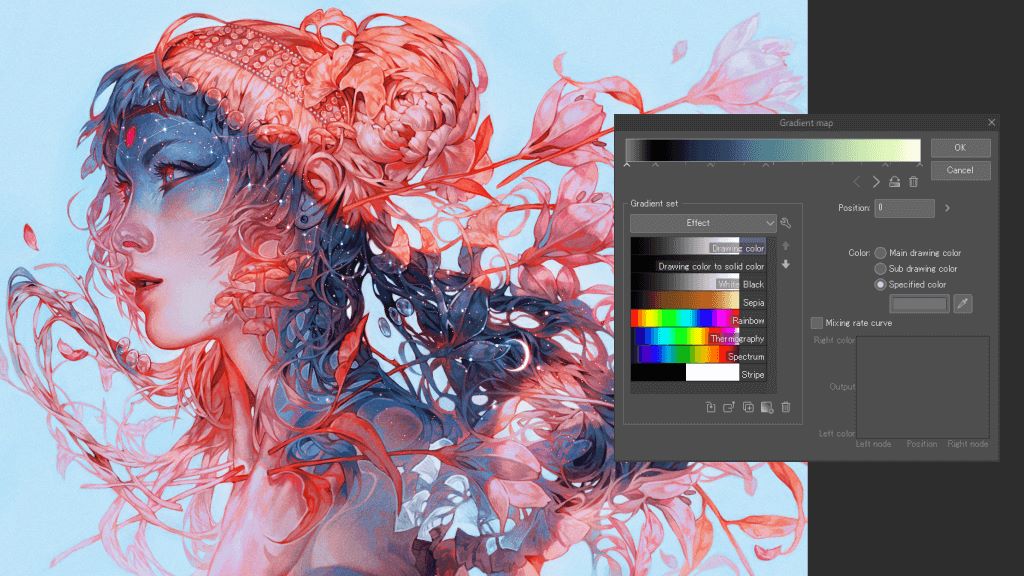
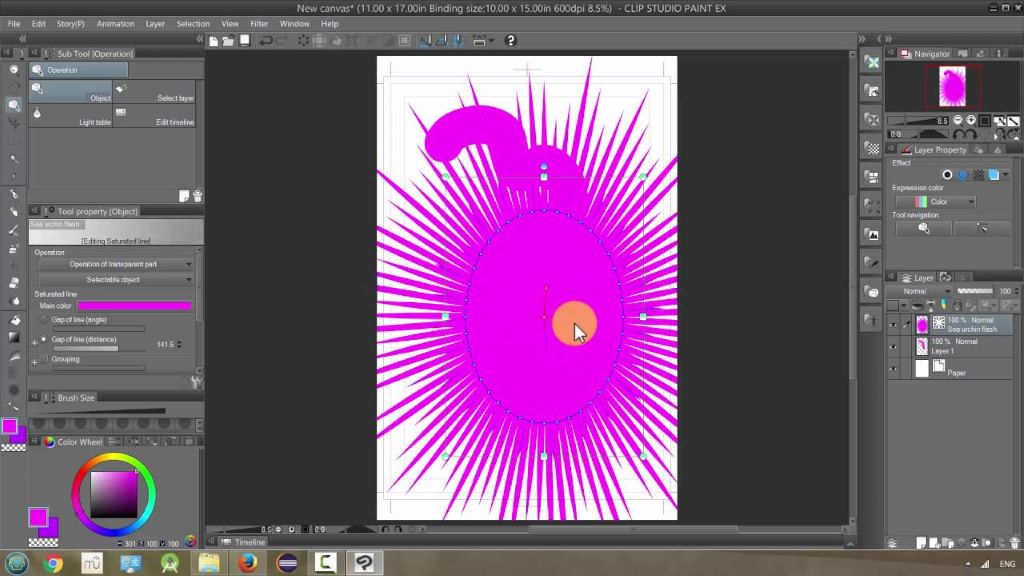
Character design is the cornerstone of many creative endeavors, from animation and comics to video games and novels. Clip Studio Paint, with its intuitive interface and powerful tools, has become a preferred choice for artists worldwide. This article will guide you through the character design with Clip Studio Paint process, from initial concept to polished illustration, leveraging Clip Studio Paint’s capabilities.
Character Design with Clip Studio Paint: Understanding Your Character
Before diving into the digital realm, it’s crucial to develop a clear understanding of your character.
- Character Concept: Who is your character? What is their personality, backstory, and goals? Visualize their appearance, age, and overall vibe.
- Target Audience: Consider the age, interests, and preferences of your target audience. This will influence the character’s design and style.
- Style and Mood: To create a compelling visual, it’s essential to define the desired art style and emotional atmosphere. Whether aiming for a realistic portrayal or a whimsical cartoon vibe, the choice should align with the intended emotional impact. For instance, a realistic style can evoke a sense of depth and authenticity, while a cartoonish approach might emphasize playfulness and simplicity. Using tools like Clip Studio Paint can enhance the creative process, offering versatile features for achieving these artistic goals seamlessly.
Character Design with Clip Studio Paint: Sketching and Ideation
Clip Studio Paint’s versatile pencil and pen tools are perfect for sketching.
- Rough Sketches: Start with loose, dynamic sketches to explore different poses, expressions, and outfit ideas. Use layers to experiment freely.
- Thumbnails: Create small, simplified sketches to quickly visualize multiple design options.
- Reference Gathering: Collect visual references for inspiration. This can include real-life photos, art styles, and other character designs.
Refining the Design
Once you have a strong concept, it’s time to refine your character’s appearance.
- Anatomy and Proportions: Pay attention to accurate anatomy to create believable characters. Clip Studio Paint’s ruler and symmetry tools can assist with this.
- Clothing and Accessories: Design clothing that complements the character’s personality and fits the overall style. Consider using 3D models for clothing reference.
- Color Palette: Choose a color scheme that reflects the character’s mood and the story’s atmosphere. Experiment with different color harmonies.
- Face and Expression: The face is crucial for conveying emotions. Practice drawing various facial expressions to bring your character to life.
Leveraging Clip Studio Paint’s Tools
Clip Studio Paint offers a rich array of tools to enhance your character design process.
- Vector Layers: Use vector layers for clean lines and easy adjustments to shapes and curves.
- 3D Models: Incorporate 3D models for posing reference, clothing design, and perspective guidance.
- Line Art: Create clean and precise line art using various pen and brush tools. Experiment with different line weights and textures.
- Coloring: Explore different coloring techniques, such as flat colors, gradients, and airbrushing. Utilize blending modes to create depth and atmosphere.
- Shading and Lighting: Add dimension and realism to your character with shading and lighting techniques. Consider using light sources and shadows to enhance the visual impact.
Character Design with Clip Studio Paint: Adding Details and Personality
The final touches can elevate your character design.
- Props and Accessories: Add props and accessories to enhance the character’s story and personality.
- Hair and Facial Features: Pay attention to detail in hair and facial features to create unique and memorable characters.
- Background and Environment: Consider the character’s surroundings to create a cohesive visual narrative.
Tips for Successful Character Design
- Study and Practice: Observe people, animals, and other art styles to improve your drawing skills.
- Experiment and Iterate: Don’t be afraid to try new things and make changes to your design.
- Feedback: Seek feedback from others to get fresh perspectives on your work.
- Consistency: Maintain a consistent style throughout your character’s development.
Navigating the Dream Realm: A Beginner’s Guide to Surrealistic Graphic Design
Conclusion
Character design is a rewarding creative process that combines artistic skill with storytelling. By effectively utilizing Clip Studio Paint’s tools and following these guidelines, you can create compelling and unforgettable characters. Remember, practice is key, so keep experimenting and refining your skills.
Related: Ethereal Elegance: Incorporating Surrealistic Elements into Modern Graphic Design
Character Design with Clip Studio Paint: Additional Tips:
- Explore Clip Studio Paint’s extensive brush library to find tools that suit your style.
- Utilize layers effectively to organize your artwork and make adjustments easily.
- Take advantage of the software’s time-lapse recording feature to document your process and learn from it.
- Join online communities and forums to share your work, get feedback, and learn from other artists.
By following these steps and incorporating the powerful features of Clip Studio Paint, you’ll be well on your way to creating captivating character designs that resonate with your audience.


